Installing the Win-Capture-Audio OBS Plugin
First, you need to install the plugin. If you’re unfamiliar with OBS and have not yet downloaded the plugin, watch this video, The VoiceMeeter Alternative for Live Streamers, for a simple explanation of this plugins features and how to install it. The download for the plugin can be accessed on Github here. Once you have the OBS plugin installed, you’re ready to learn how to set up and split OBS audio sources.
Setting Up Your Microphone
If you’ve already set up your microphone with OBS, feel free to skip this step.
To make sure that OBS is capturing your microphone, under Settings –> select Audio –> verify that all of the audios under Global Audio Devices are set to Disabled.
This is done so that we can set up these sources separately with the plugin.
Create a New Audio Input Capture Device
Under Sources, click the + button and create a new Audio Input Capture Device for your Microphone.
This allows you to add filters and customize your microphone sound. For more information on setting up your microphone, watch this video, How To Setup OBS Mic Settings & Filters Correctly !!
Set up Browser, Music and Alerts Sources
Setting up these sources syncs your external audio with OBS. The process is pretty similar for each source. You’ll find step-by-step instructions for each type of source below.
Browser:
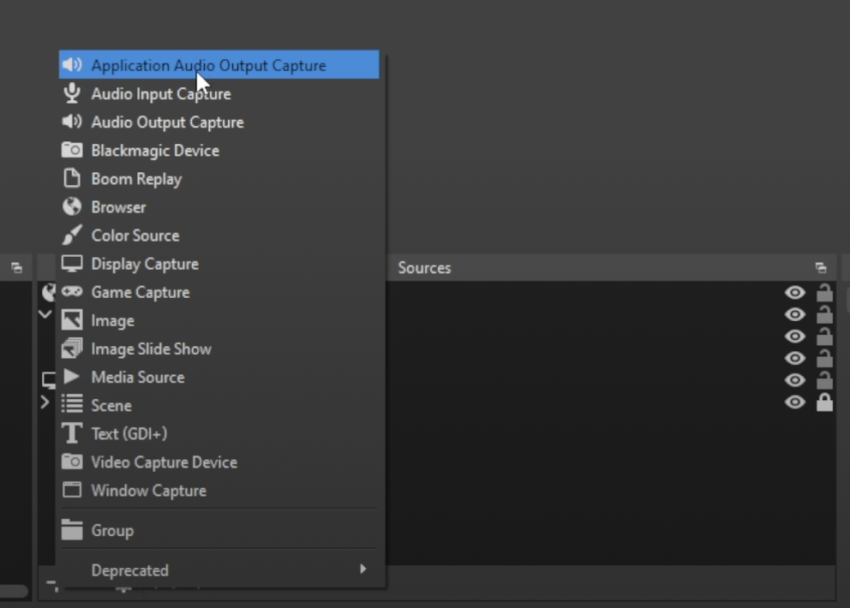
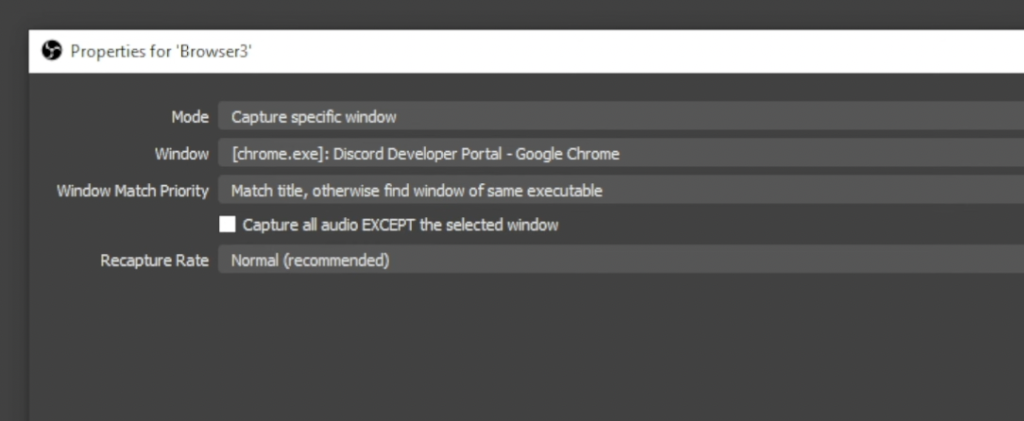
Under Sources, click the + button –> select Application Audio Output Capture –> under Create New, label “Browser” –> set the mode for Capture Specific Window –> select the browser of your choice –> under Windows Match Priority, select Match title, otherwise find window of same executable to make sure that the audio under this source will be captured.
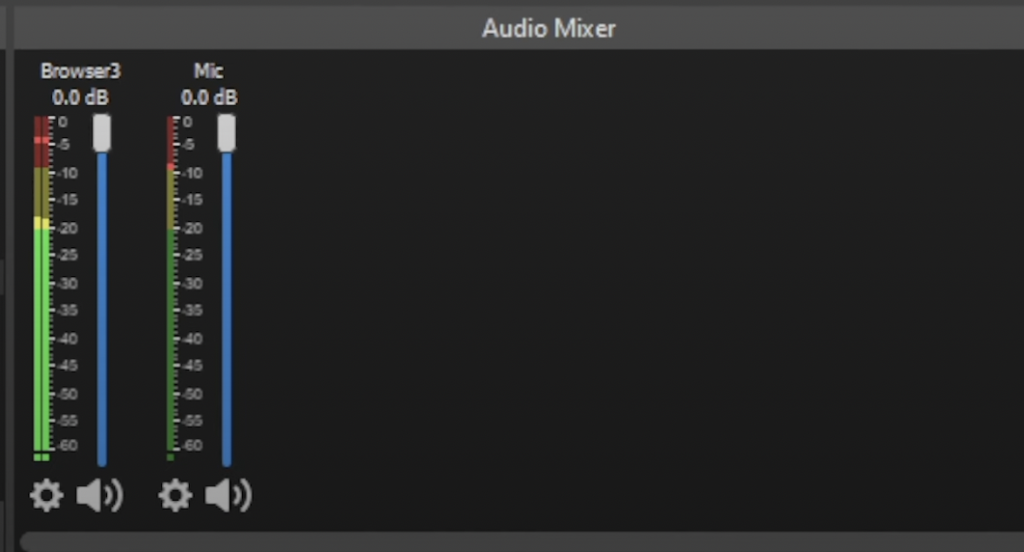
Verify that this is working by playing a video in your browser. You should see that the audio is registered in the Audio Mixer.
Check out the images below to see what these steps should look like as you set up your audio source.
Music:
Under Sources, click the + button –> select Application Audio Output Capture –> under Create New, specify “Music” –> set the mode for Capture Specific Window –> select the music that you would like to use (i.e. YouTube Music Desktop App, Spotify) –> under Windows Match Priority, select Match title, otherwise find window of same executable to make sure that the audio under this source will be captured.
Verify that this is working by playing music in your music app. You should see that the audio is being registered in the Audio Mixer.
Communications audio:
Under Sources, click the + button –> select Application Audio Output Capture –> under Create New, specify “Communications – Discord” (or your application of choice) –> set the mode for Capture Specific Window –> select the communications audio that you would like to use (like Discord) –> under Windows Match Priority, select Match title, otherwise find window of same executable to make sure that the audio under this source will be captured.
Verify that this is working by doing a mic test within the communications application and making sure that the audio is registered in the Audio Mixer.
Alerts:
Under Sources, right click on Alerts –> select Properties –> make sure that the link for your alerts system is under the URL section –> select Control Audio via OBS and verify that the alerts are registered in the Audio Mixer.
Video Game Audio:
Finally, you’ll want to make sure that the audio from your video game is captured while streaming.
Open the video game –> under Sources, select the + button –> under Create New, specify the name of your source –> under Windows Match Priority, select the game source. You should hear the audio from the game registered under the Audio Mixer.
Organizing Audio
You can organize all of these audio inputs so that they’re easier to manage by creating a nested scene.
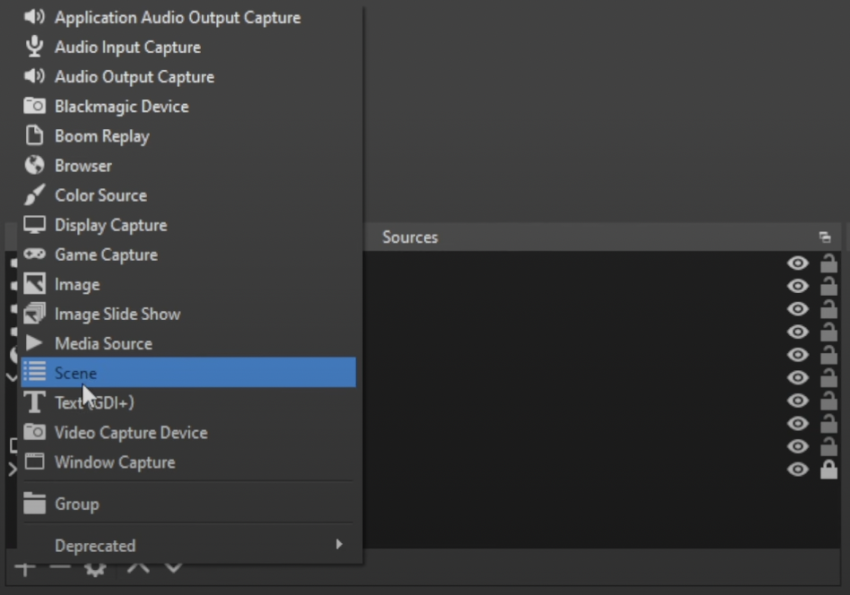
Under Scene, click the + button –> add a New Scene (named “Audio Sources”) –> place all of the audio sources into the new scene –> create a New Source, label it what you wish, and add the entire scene to that source so that they are all in one place!

Any questions? If you found any of these steps confusing, feel free to watch these videos linked below for a more hands-on look at how this is done. You can also reach out in our Discord to chat with someone who can help you more specifically!
Videos:
How to split audio in OBS – Easiest way to Split Game Audio, Discord, Music in OBS! (without Voicemeeter)
What is OBS? How do I install it? – The VoiceMeeter Alternative for Live Streamers
How can I adjust my microphone settings for professional audio in OBS? – How To Setup OBS Mic Settings & Filters Correctly !!