Here at TheFranswah Studio we have done plenty of content discussing the set up of microphones after they’ve been installed. With this article and video we wanted to talk about everything that goes into setting up a microphone prior to adding processing on your computer. Although, we focus our content for those that create content and stream content.. these rules apply to all forms of use for microphones. Now lets get started.
Types of Microphones
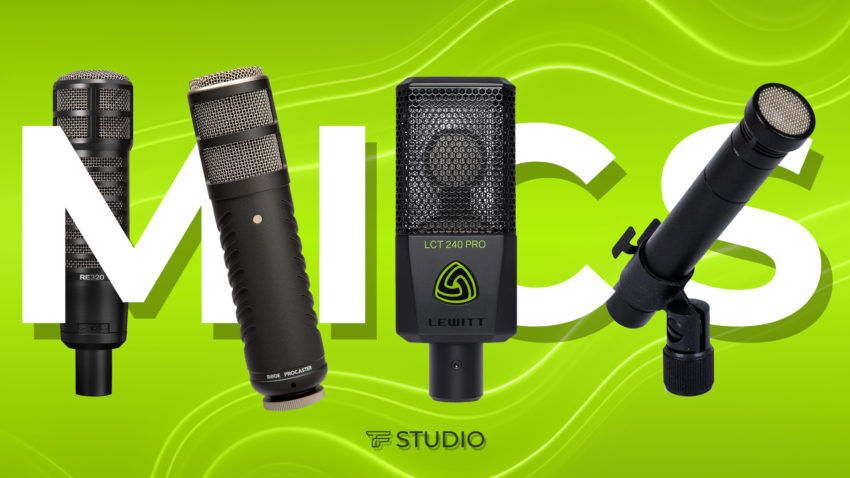
There are many types of microphones.. We are going to focus on the most popular types of microphones and the microphone types that are typically suggested in our line of work.
Mic Types:
- Condenser Microphone
- Dynamic Microphone
Condenser Microphone
For those of you that are interested in the engineering, Condenser Microphones work mainly with what is called capacitance. Capacitance is the ability of a system to store an electrical charge. In this case it’s the distance or spacing of the diaphragm and the backplate creating an electrical signal with the sound being picked up. See the image below for context.
Benefits of Condenser Microphone:
– Picks up high highs
– Picks up low lows
– More naturally accurate sounding
Downside of Condenser Microphone:
– Not the best at rejecting quieter noises (air noise, fan noise, etc)
Condenser Mic’s are best at getting natural sound. This means it will have a higher quality as a result. If your environment is enclosed and sound treated it’s best to use a condenser mic.
Dynamic Microphone
Unlike the Condenser Microphone, the Dynamic Microphone operates with a phenomenon known as electromagnetic induction. The Dynamic Mic converts sound waves into electrical energy by using a coil of wires and a magnet; when sound waves pass the diaphragm of the mic, it causes vibration of the coil and magnet creating an electrical current. See image below for context.

Benefits of Dynamic Microphone:
– Better at rejecting quieter noises meaning less environmental noise
Downside of Dynamic Microphone:
– Less natural
– Less high highs
– Less low lows
Dynamic mics are typically better when used in noisy environments. This is why you see them used on stage at concerts, meanwhile condenser mics are used in studios for recording.
Ad below helps fund the site
Polar Patterns
Now that we have covered microphone types, we can discuss the polar patterns of those microphones. Polar Patterns or Pickup Patterns determines the microphones “detection” or “sensitivity” at different angles. There are different kind of polar patterns and many that are better for certain environments and applications.
It is important that you see Polar Patterns 3 dimensionally as sound is 3 dimensional and not 2 dimensional. Though Polar Patterns are often represented in a 2d image it does in fact pickup sound on a X and Y axis.
Cardioid
Cardioid is the most popular polar pattern especially for recording applications. Cardioid makes it easier for us to get a clear or dry audio signal because it is least sensitive at 180º, this means the audio behind the mic is being ignored. These images from Lewitt Audio best display the pickup of the Cardioid polar pattern.


Ad below helps fund the site
Supercardioid
The Supercardioid polar pattern is similar to cardioid, but has a more directive pickup in the front and less rejection in the back. This makes supercardioid particularly perfect for live streaming, because it allows for higher gain and less feedback.
The images below come from Lewitt Audio.


Ad below helps fund the site
Cardioid and Supercardioid are the most common types polar patterns for mics used in content creation. Below is a list of other polar patterns that are not particularly used for streaming, gaming, or content creation.
Omni-directional
The omni-directional polar pattern has the same sensitivity at all angles. The omni-directional polar pattern is typically used in webcam mics. This causes these mics to not be the best for live recordings. Due to the nature of the pattern it will pickup sounds like fans, keyboard clicks, and other environmental noises very clearly.
Bi-directional
The bi-directional polar pattern is basically the omni-directional pattern except it rejects sound from the left and the right.
Shotgun
The shotgun polar pattern has a uni-directional pickup with very small pickup from the sides of the mic. This polar pattern is typically used outside due to its narrow pickup in the front and minor pickup on the sides and back. This improves both the isolation of sound and the rejection of environmental noises. However, when used inside it tends to muffle the sound in comparison to other polar patterns.
Ad below helps fund the site
Microphone Setup
It may seem silly but positioning of your microphone is one of the more important steps when setting up your microphone. First you want to establish the type of microphone you have, and the polar pattern that microphone uses. If you have a microphone like the HyperX Quadcast you can select between stereo, omni-directional, bi-directional, and cardioid polar patterns. In this case, you would select the cardioid polar pattern especially if you are live-streaming or creating video content.
Every microphone should be facing or pointing at your mouth. After you find the front of the mic and face it towards yourself you can follow along with the steps below.
Condenser Mics
Condenser mics need to be within 3 to 5 inches of your mouth. We find a good way to measure this is by sticking out your thumb and pinky fingers, touching your thumb to your lip and placing the mic on the pinky.
Dynamic Mics
Dynamic mics need to be within a few inches of your mouth. The way we suggest measuring this is by placing your 4 fingers together and using the distance between your index and pinky fingers to position your microphone.
Boom Arms
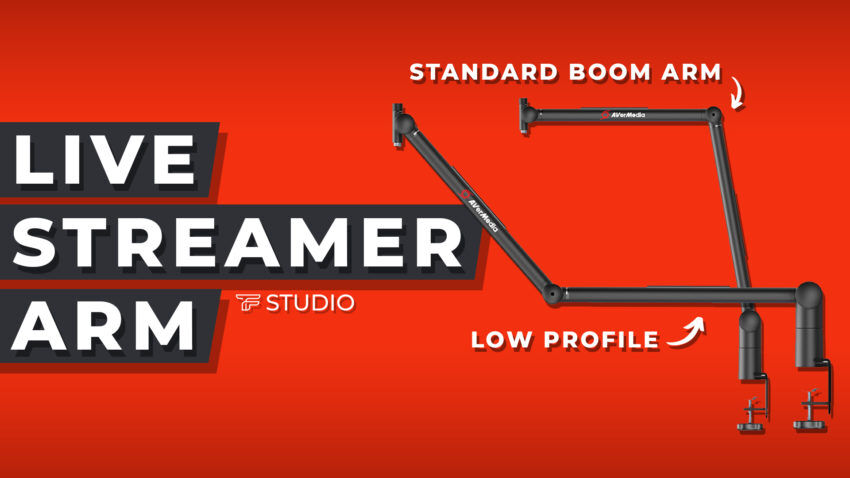
You might notice that your microphone doesn’t float in mid-air. In order to get your microphone from the ground to the positions listed above you will need a boom arm. Boom arms come in many shapes and sizes, but more importantly, they are built with different levels of quality. We will not suggest a boom arm that is not built with high quality. You can view this article to find the boom arms we think are worth the $$$ value.
Pop filters
When we speak certain words we often create a phonetic sound called a plosive. Plosive sounds are typically created from the letters p, t, k, b, d, and g in our alphabet. In order to reduce those sounds when they enter a microphone we use what is called a pop filter. There is only one pop filter we can suggest knowing 100% it will give the best quality and least amount of muffling to your vocals. The Stedman PS101 is a metal pop filter that does an exceptional job of reducing plosives while maintaining clarity.
Equipment Suggestions
We have made an article suggesting microphones and interfaces depending on your budget and needs. If you are looking for suggestions on what we think are the best bang for your buck buys then do give this article a read.
Ad below helps fund the site
Microphone Levels
After we get our microphone properly positioned we are ready to adjust our microphone levels. Audio volume is measured in decibels. Prior to adding processing onto our mic we want to be certain our volume on the mic is set correctly. This will ensure we are getting the most out of our vocals prior to adding filters onto the mic.
We suggest you get your microphone setup to average around -15db to -12db with the peaks of our vocals hitting -6db.
You can do this in a few ways. First, if the microphone itself has a volume slider.. adjust the slider until you are reading the above mentioned levels. If you need a way to monitor the db level of your mic you can do so by watching the volume meter within OBS.
If you are using an audio interface you can adjust the gain on the interface until it is within the above mentioned level.
Lastly, you can add a gain filter to the microphone internally on your computer. This can be done within OBS for streaming and recording, a VST host, or Equalizer APO.


